





 History Search
 Recommended For You
 Languge & Currency


The Coin That Took Three Years to Land
If you have played Diablo 4 since launch, you have probably heard the rumors about a strange "lucky coin" hidden somewhere in the world. A coin you could toss into a wishing well. A coin tied to a secret so deep that most players simply forgot it existed. That mystery has been quietly growing since Season 3 — and in Season 15, the 30th-anniversary season, Blizzard finally closed the loop.
This guide walks you through the complete Lucky Coin Saga: the three coins you must collect, the three pieces of "unlucky" jewelry they unlock, the brutal 24-hour timer you have to respect, and the hidden boss fight with the Echoes of the Horadrim that awaits at the end. No fluff, no guessing — just the exact steps, the spots on the map, and the traps that will trip you up.
Season 15 at a Glance: 30 Years of Hell, Remastered
Before we dive into the coins, it helps to understand the season around them. Season 15 is the celebration of Diablo's 30th anniversary, and Blizzard has stuffed it with callbacks to the entire franchise — the original Diablo, Diablo II, and Diablo III all get their moment in the sun. The season's whole identity is "remaster the classics," and it shows.
The Three Evil Spikes
The season questline sends you back through three of the franchise's most iconic fights. You hunt down echoes of Diablo, Baal, and Mephisto across the Tristram Cathedral depths, the peak of Mount Arreat, and the Prison of Hatred. Defeating them lets you forge one of three Evil Spikes, each tied to a different endgame activity:
- Diablo's Spike of Fear — fire-themed power, used in Helltides and Infernal Hordes.
- Baal's Spike of Destruction — frost-themed power, used in the Undercity and Lair Bosses.
- Mephisto's Spike of Hatred — physical-themed power, used in the Pits and Nightmare Dungeons.
You can only carry one spike at a time, but you can swap them at the largest Clear Nightmare whenever you want to chase a different reward track. Each track unlocks 8 activity affixes and 6 power upgrades.
Clear Nightmares, Soul Shards, and Uber Prime Evils
Beyond the spikes, the season re-creates classic encounters through Clear Nightmares — remastered versions of famous D1/D2/D3 moments, from the Den of Evil to battles against old bosses. You also get new Soul Shards, a wave of returning Diablo II runewords, and the Pandemonium-style event where you can fight Uber versions of all three Prime Evils for the coveted Hellfire Torch.
The Big Picture: Three Coins, Three Jewels, One Boss
Here is the entire saga on a single page. Each coin is its own mini-quest, and you can tackle them in any order. What matters is that you end up with all three pieces of jewelry equipped at the same time.
| Coin | How to Get It | Where to Turn It In | Jewelry Earned |
|---|---|---|---|
| The Lucky Coin Base game / Season 3 |
Loot a special corpse while under a Greed Shrine buff with high Lucky Hit Chance. | Wishing Well, The Downs, Scosglen (needs 5 players / 5 classes) | Ring of Misfortune |
| The Luckier Coin Vessel of Hatred / Season 8 |
Break a named container with a Blast Wave Shrine to spawn a silent rat, then follow it. | Moss-covered Grave, south of Samuk, Nahantu | Ring of the Jinx |
| The Luckiest Coin Lord of Hatred / Season 15 |
4 players kill 4 Elemental Golems at once in Skartara, Skovos. | Pillow, south Temis (then wait 24 hours) | Amulet of Dark Omens |
Wear all three — the Ring of Misfortune, the Ring of the Jinx, and the Amulet of Dark Omens — and a secret portal opens in Lorath's old cabin in the Fractured Peaks. That is where the Horadrim Council fight lives.
Coin #1 — The Lucky Coin → Ring of Misfortune
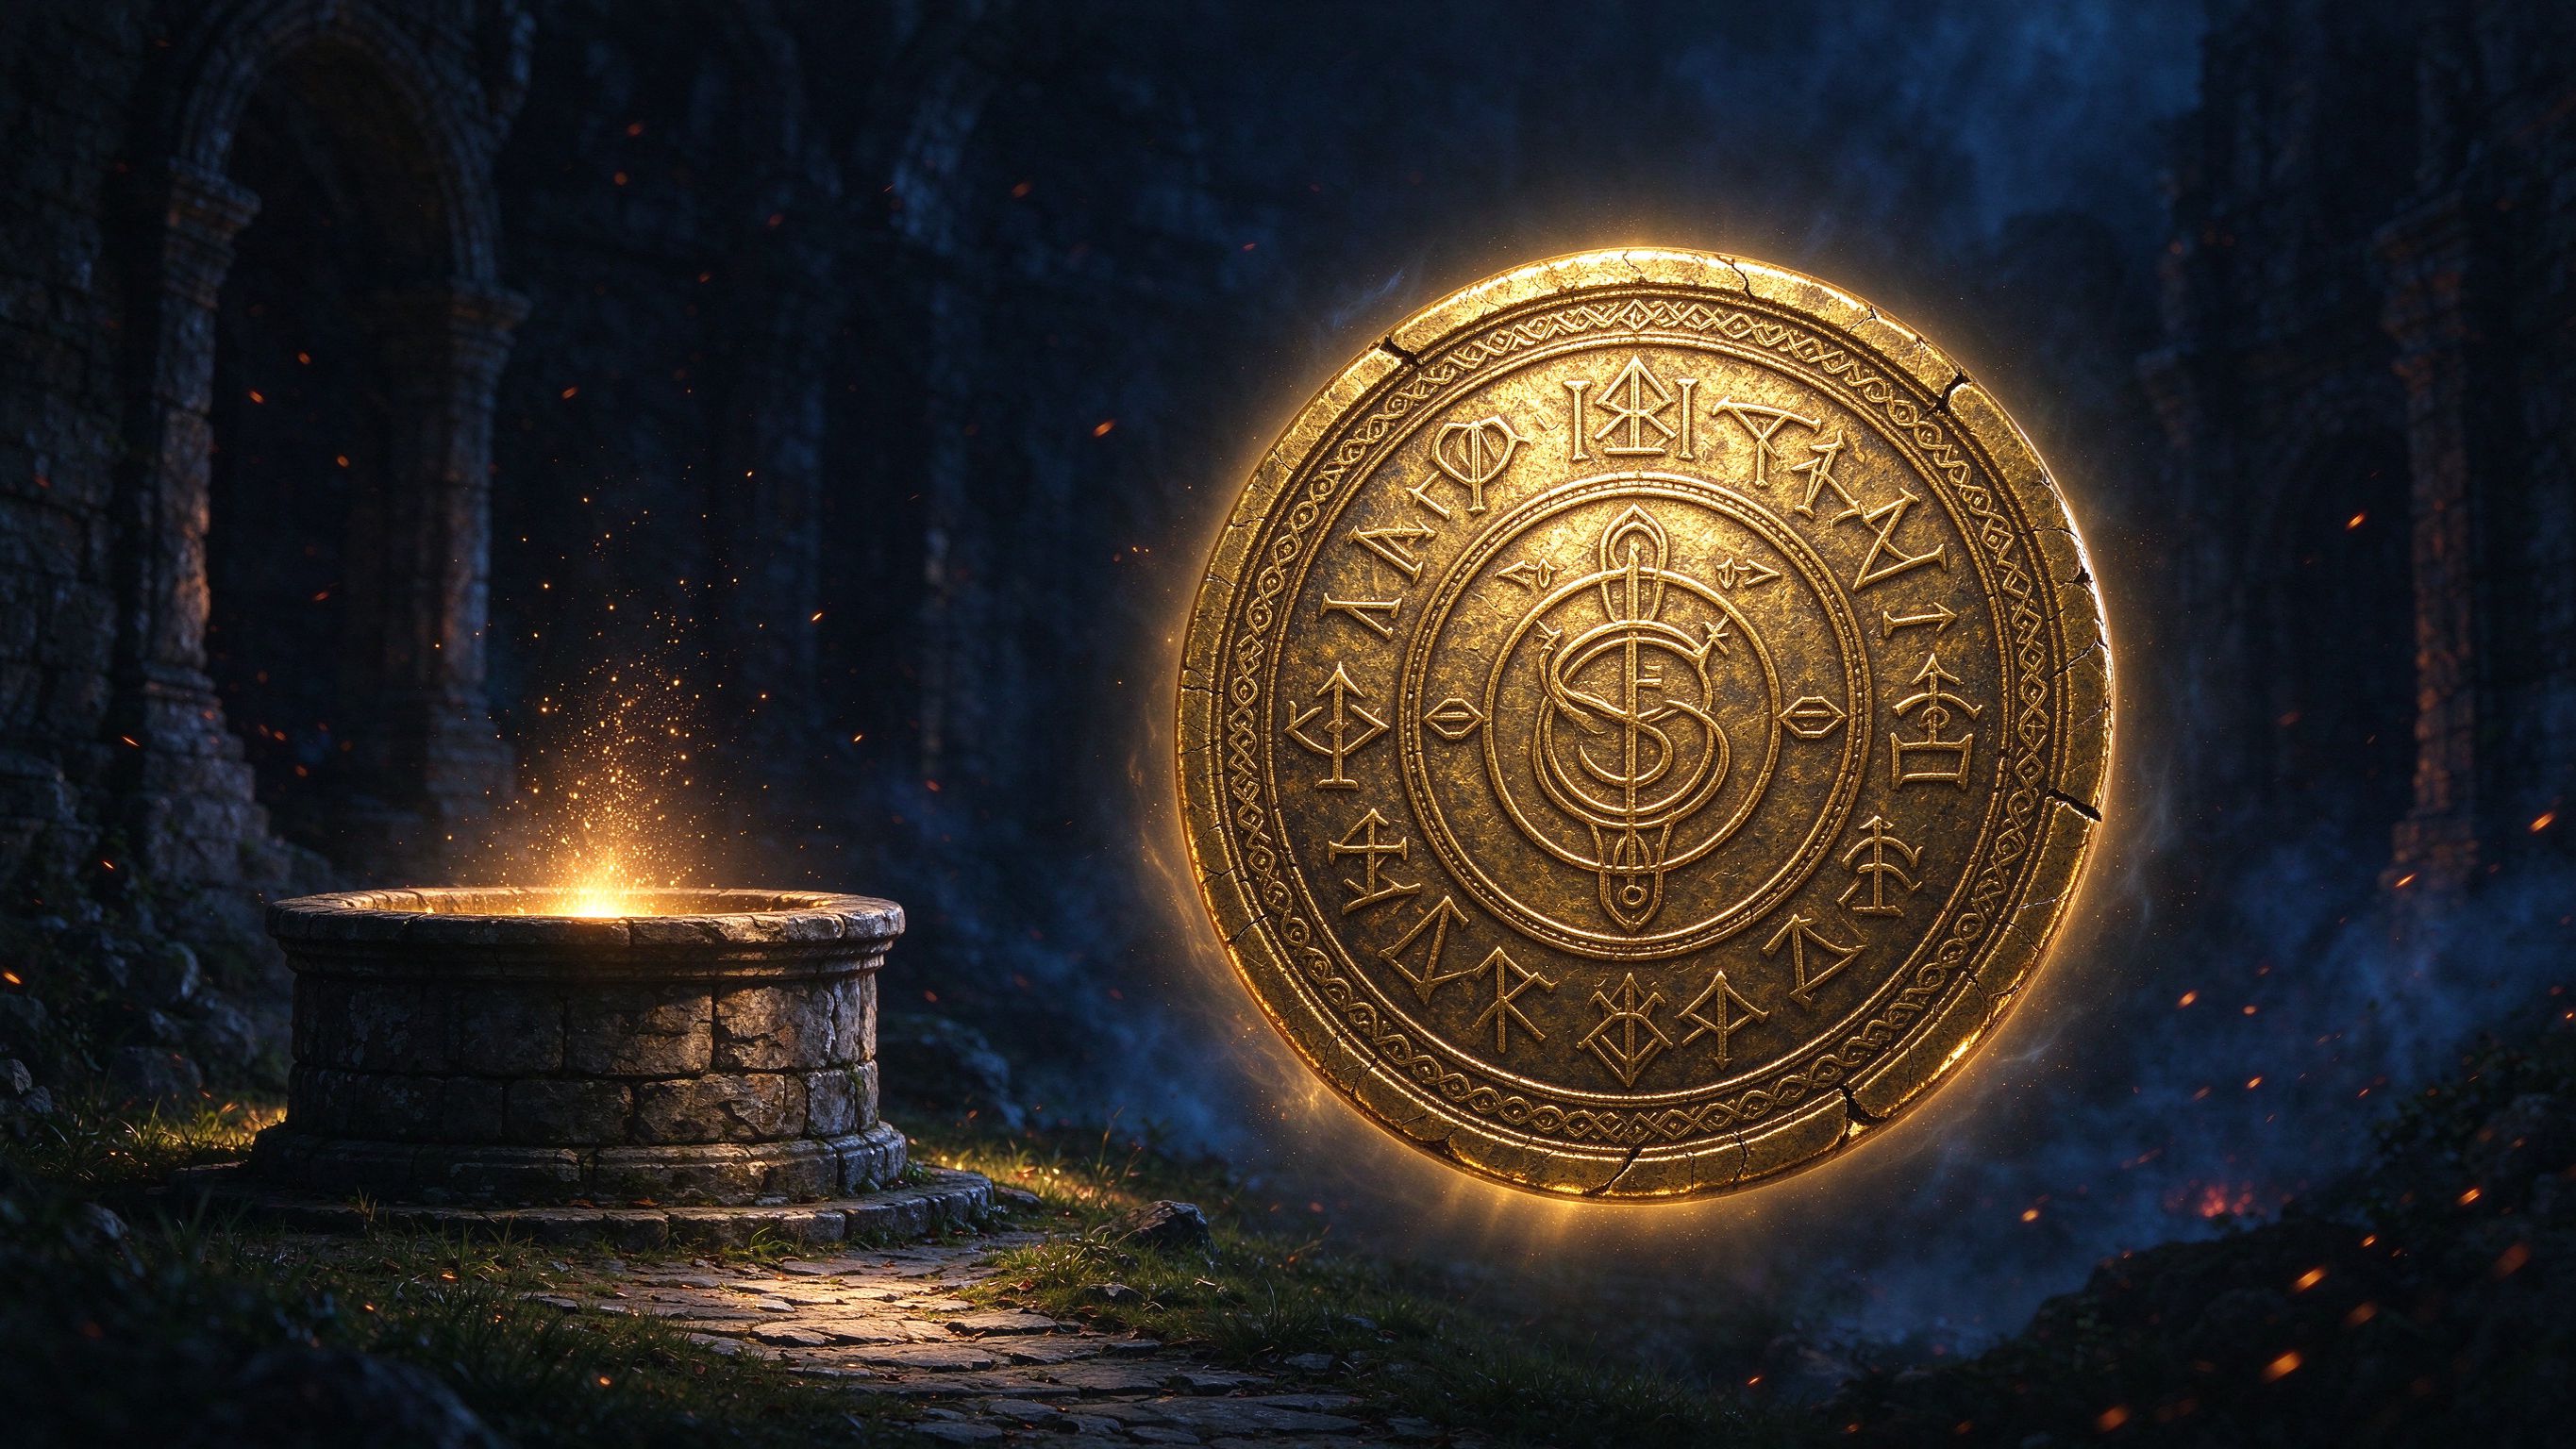
The original Lucky Coin, discovered way back in Season 3 in the base game. This one is all about luck — which, fittingly, means it is the most frustratingly RNG-heavy of the three.
How to Obtain It
You need three things to line up at the same time:
- A "corpse" mini-event. Somewhere in the open world, a big demon smashes a corpse with an axe, turning it into an interactable object. You must loot that corpse.
- The Greed Shrine buff. You must be under the effect of a Greed Shrine when you loot the corpse.
- Lucky Hit Chance. You want at least 33.3% on your character, and ideally 50% or more. Even past 100% the drop is not guaranteed — it simply improves your odds.
The classic farming spot is just north of Duriel's lair, or the eastern part of Hawezar, where you'll find plenty of Fallen, Bandits, Drowned, and Nangari — all of which can spawn the corpse event. Torment 1, 10, and 12 are the best difficulties because they simply spawn more shrines and events.
The Fast Way (Two Legendary Shortcuts)
- Ahavarion, Spear of Lycander — this Mythic staff grants a random Shrine effect for 20 seconds whenever you kill an Elite. It effectively lets you farm shrine buffs on demand.
- Nemesis Bracers (new in Season 15) — Shrines you activate now spawn an Elite pack, which feeds straight back into Ahavarion. Together, you can chain shrine buffs without ever hunting a natural shrine again.
- King's Grace runeword (a returning Diablo II craftable) — a normal-rarity 1H sword, mace, or flail crafted with Amn + Ral + Thul in the Horadric Cube. It gives a massive 50% Lucky Hit Chance at base, and you can push it to 87.5% with Masterworking — or even 100% on an Ancestral roll.
Turning It In: The Wishing Well
Take the coin to the Wishing Well in The Downs, Scosglen (just east of Cerrigar). Throwing one coin in alone grants an achievement and the Well-Wisher title — but that is not the real prize.
To get the Ring of Misfortune, you need five players, each on a different class, to each throw a coin into the well. The well checks every class as coins go in — any duplicate and it fails, and you have to farm a coin all over again. As each coin drops, random plagues (insects, snakes, even meteors) befall everyone nearby. Once five coins are in, the ring drops.
Coin #2 — The Luckier Coin → Ring of the Jinx
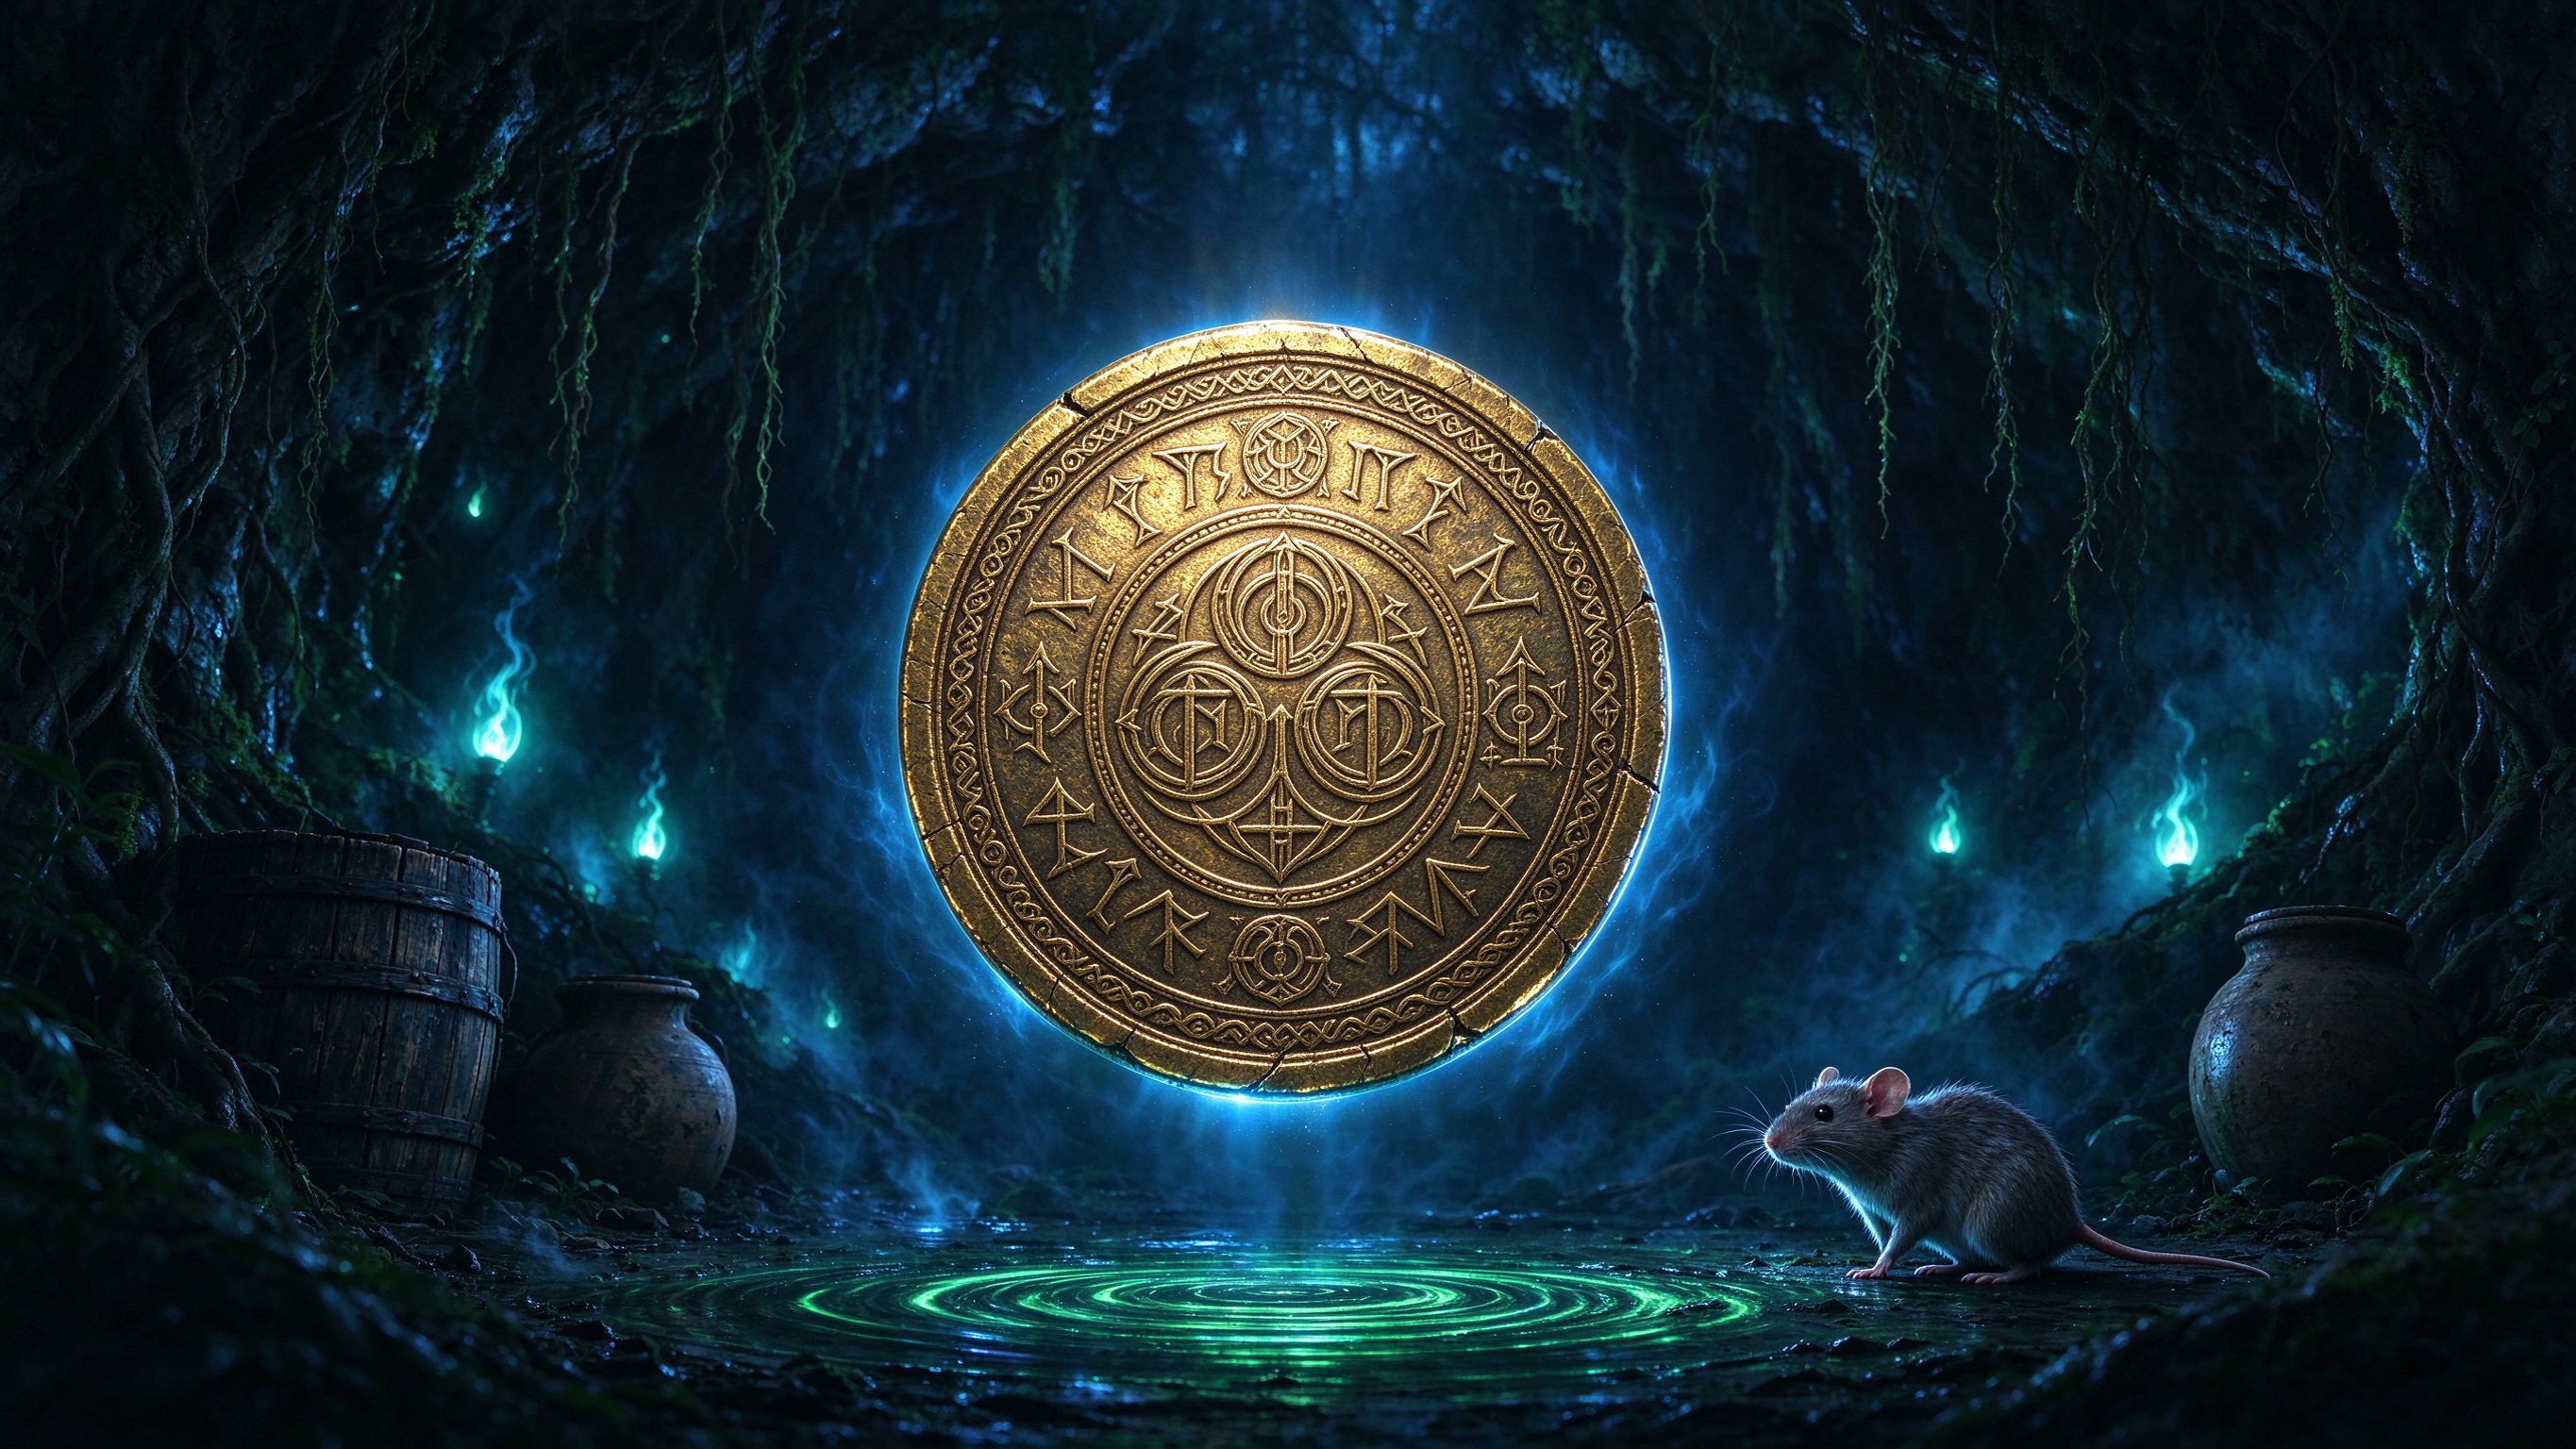
The Luckier Coin arrived with Vessel of Hatred (Season 8). It used to be a guaranteed drop — and in Season 15 it has somehow become the most unreliable of the three. Welcome to the worst RNG in the whole saga.
How to Obtain It
- Find a Blast Wave Shrine (no Lucky Hit Chance needed this time).
- Break a "named" container — a barrel, jar, basket, or crate that shows its name when you hover over it. The Blast Wave pulse is what shatters it.
- The container has a chance to spawn a special invulnerable rat. The spawn is not guaranteed, and there is nothing you can do to force it.
- Follow the rat for roughly 2–4 minutes (older guides say 7 minutes and 9 seconds, but current reports point to 2–4). When the hidden timer ends, the rat violently explodes and drops the coin.
Best Farming Spots
- Lower Kurast in Diablo II? No — the Restless Canopy in Nahantu is packed with destructible containers.
- If you have Ahavarion, higher difficulties are full of Elites to farm shrine buffs from — just be careful not to blow past your containers.
Turning It In: The Moss-Covered Grave
Head to the Samuk Waypoint in the south-west of Nahantu, then continue south-west to a Moss-covered Grave. Interacting with the grave consumes the coin and hands you the Ring of the Jinx — a ring whose flavor effect breaks objects around you, like a permanent (and harmless) Blast Wave with no visual pulse.
Coin #3 — The Luckiest Coin → Amulet of Dark Omens
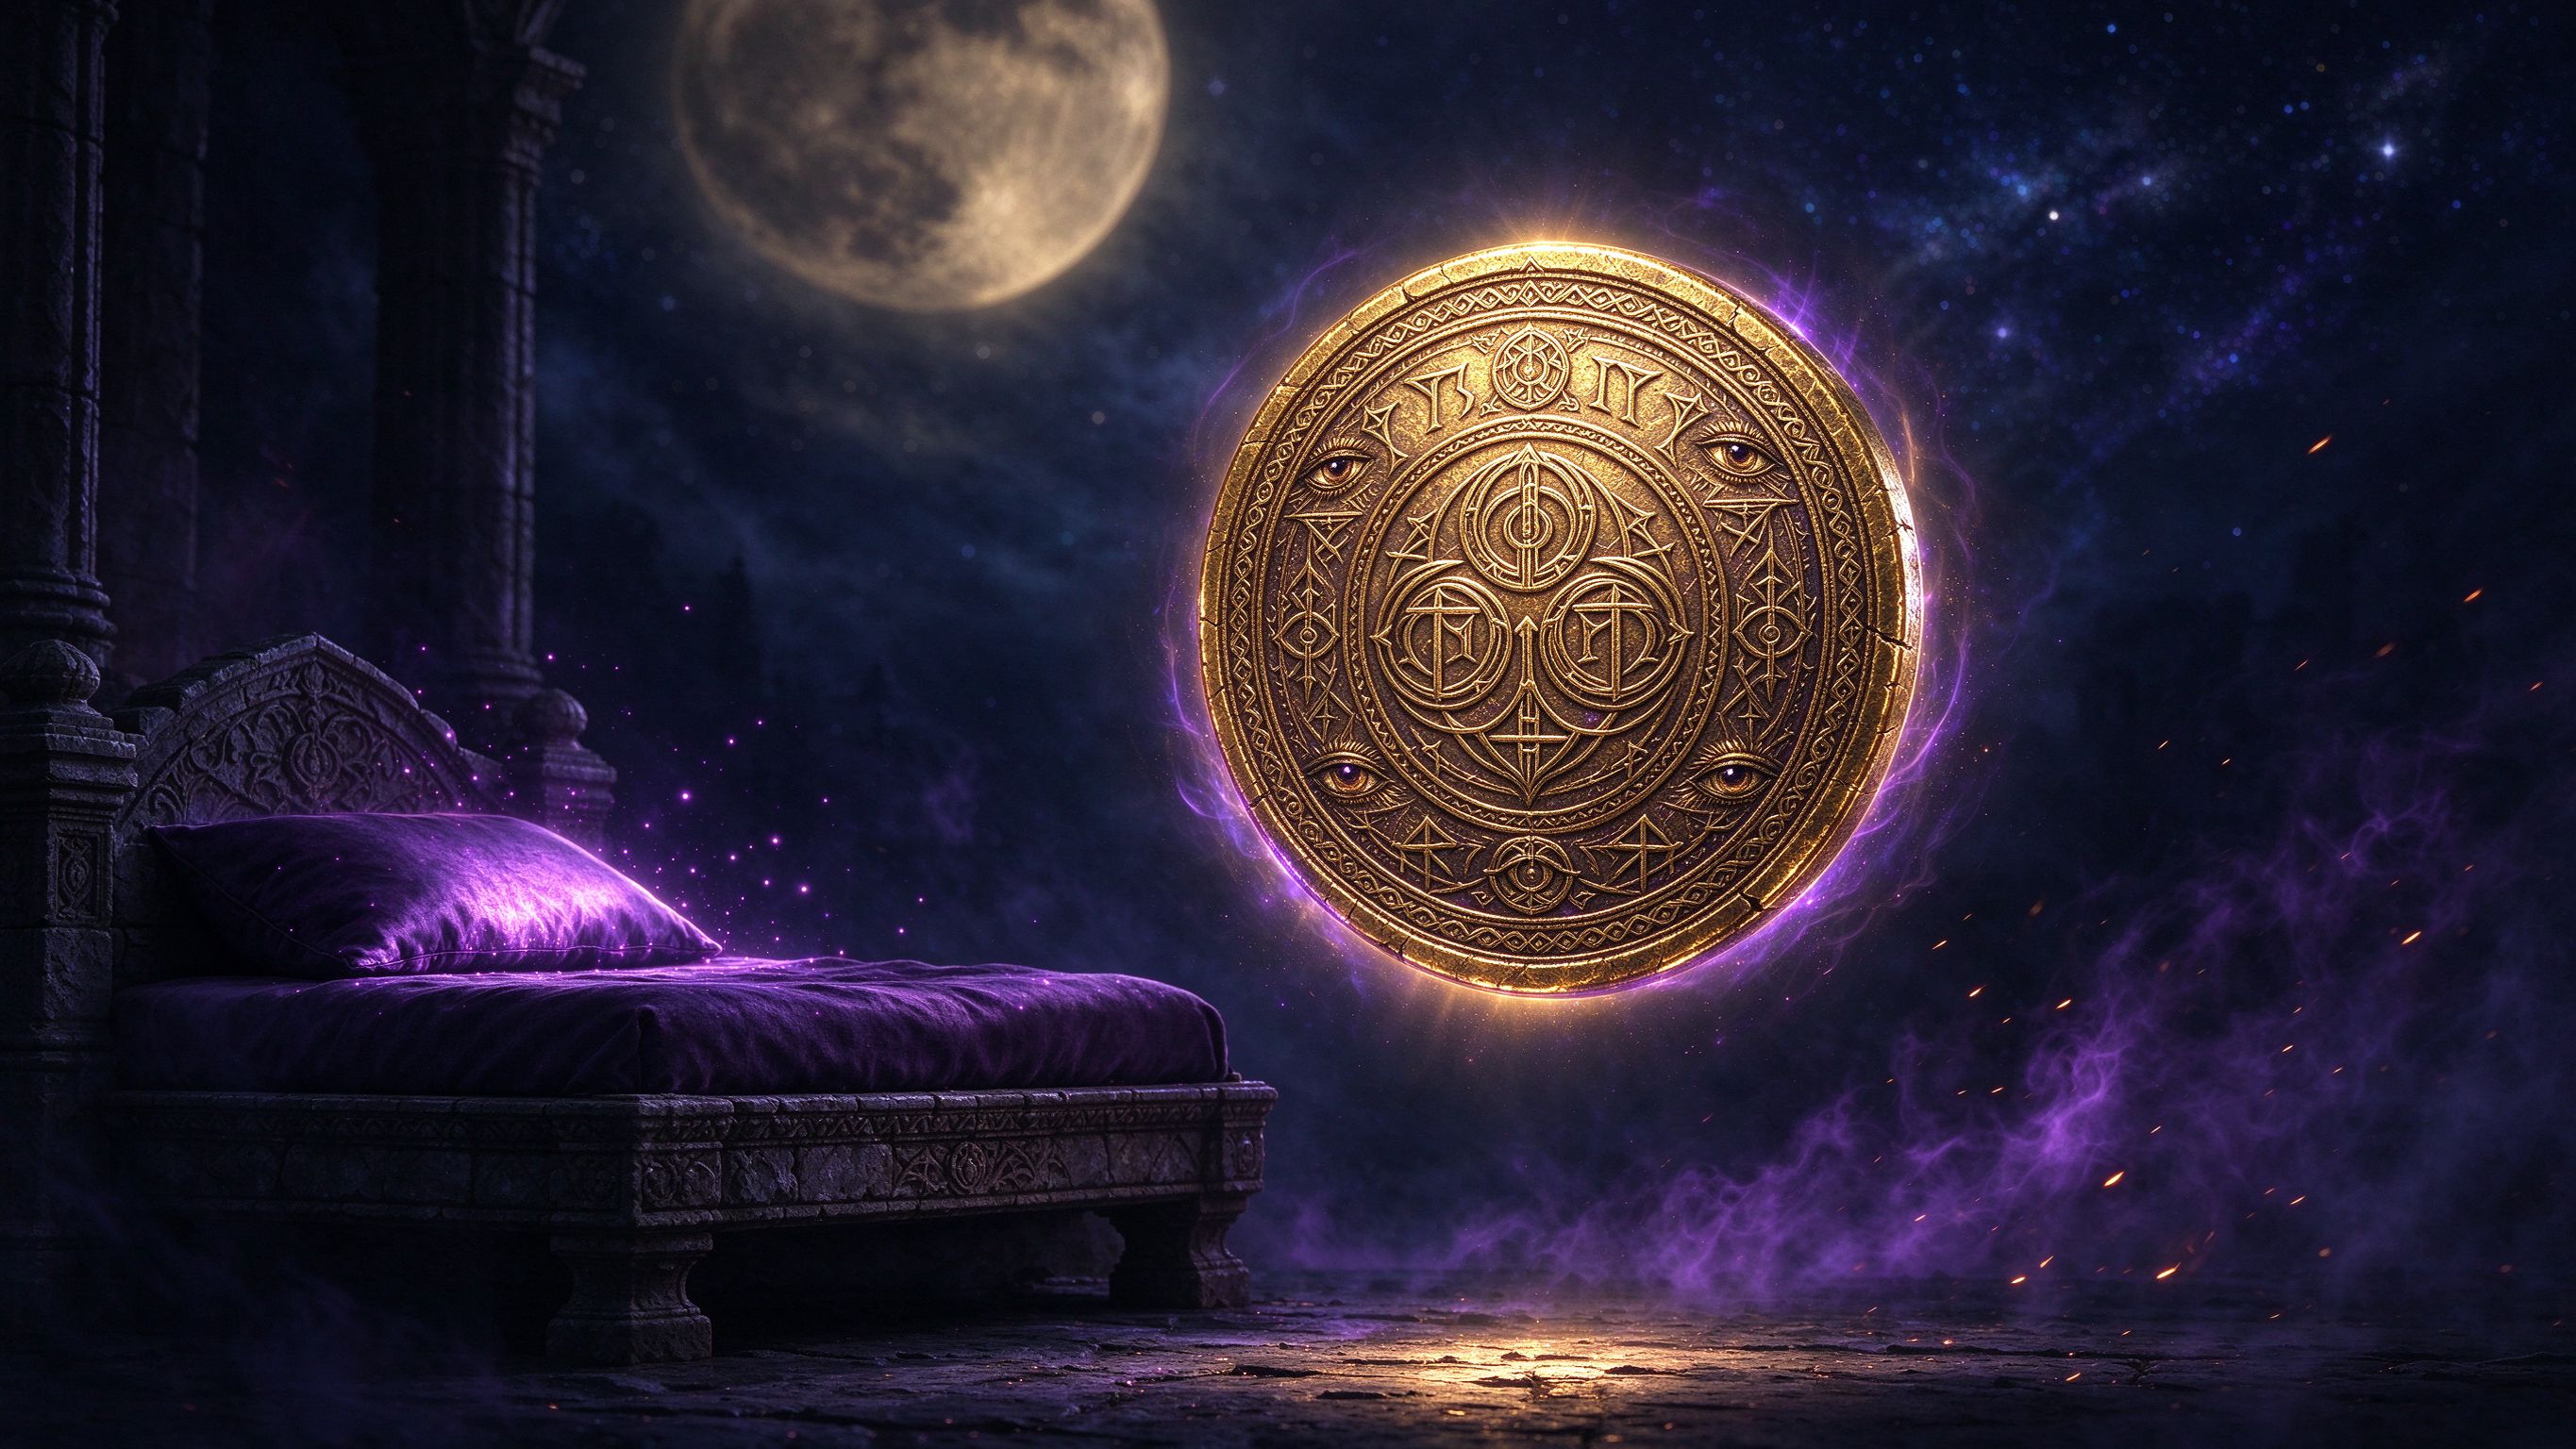
The newest and final coin, added in Lord of Hatred / Season 15. The hardest to reach, but ironically the simplest mechanics — until the 24-hour wait, which is where most people lose it.
How to Obtain It
- Form a party of 4 and travel to Skartara in Skovos.
- There are four Elemental Golems: Droplet, Flowing Rage, Raging Fissure, and Snagging Vein. Send one party member to each.
- Confirm every golem is alive and spawned, then count down and kill all four in quick succession. Order does not matter.
- A counter on screen ticks up to four. When it hits four, you see the message "From many Tempers, a single token" — and the Luckiest Coin drops.
Turning It In: The 24-Hour Pillow
Travel to Temis and find the Pillow on the south side of town (right next to The Aegoye dungeon). Interact with it to deposit your Luckiest Coin. Then comes the test of patience:
- Wait exactly 24 hours. Not a moment sooner.
- When the timer ends, you get a 2-minute window to interact with the pillow again and loot the Amulet of Dark Omens.
- Miss the window and you start over — another coin, another 24 hours. This is why the spare coins from the golem step are gold.
The Payoff — Echoes of the Horadrim (The Horadrim Council)
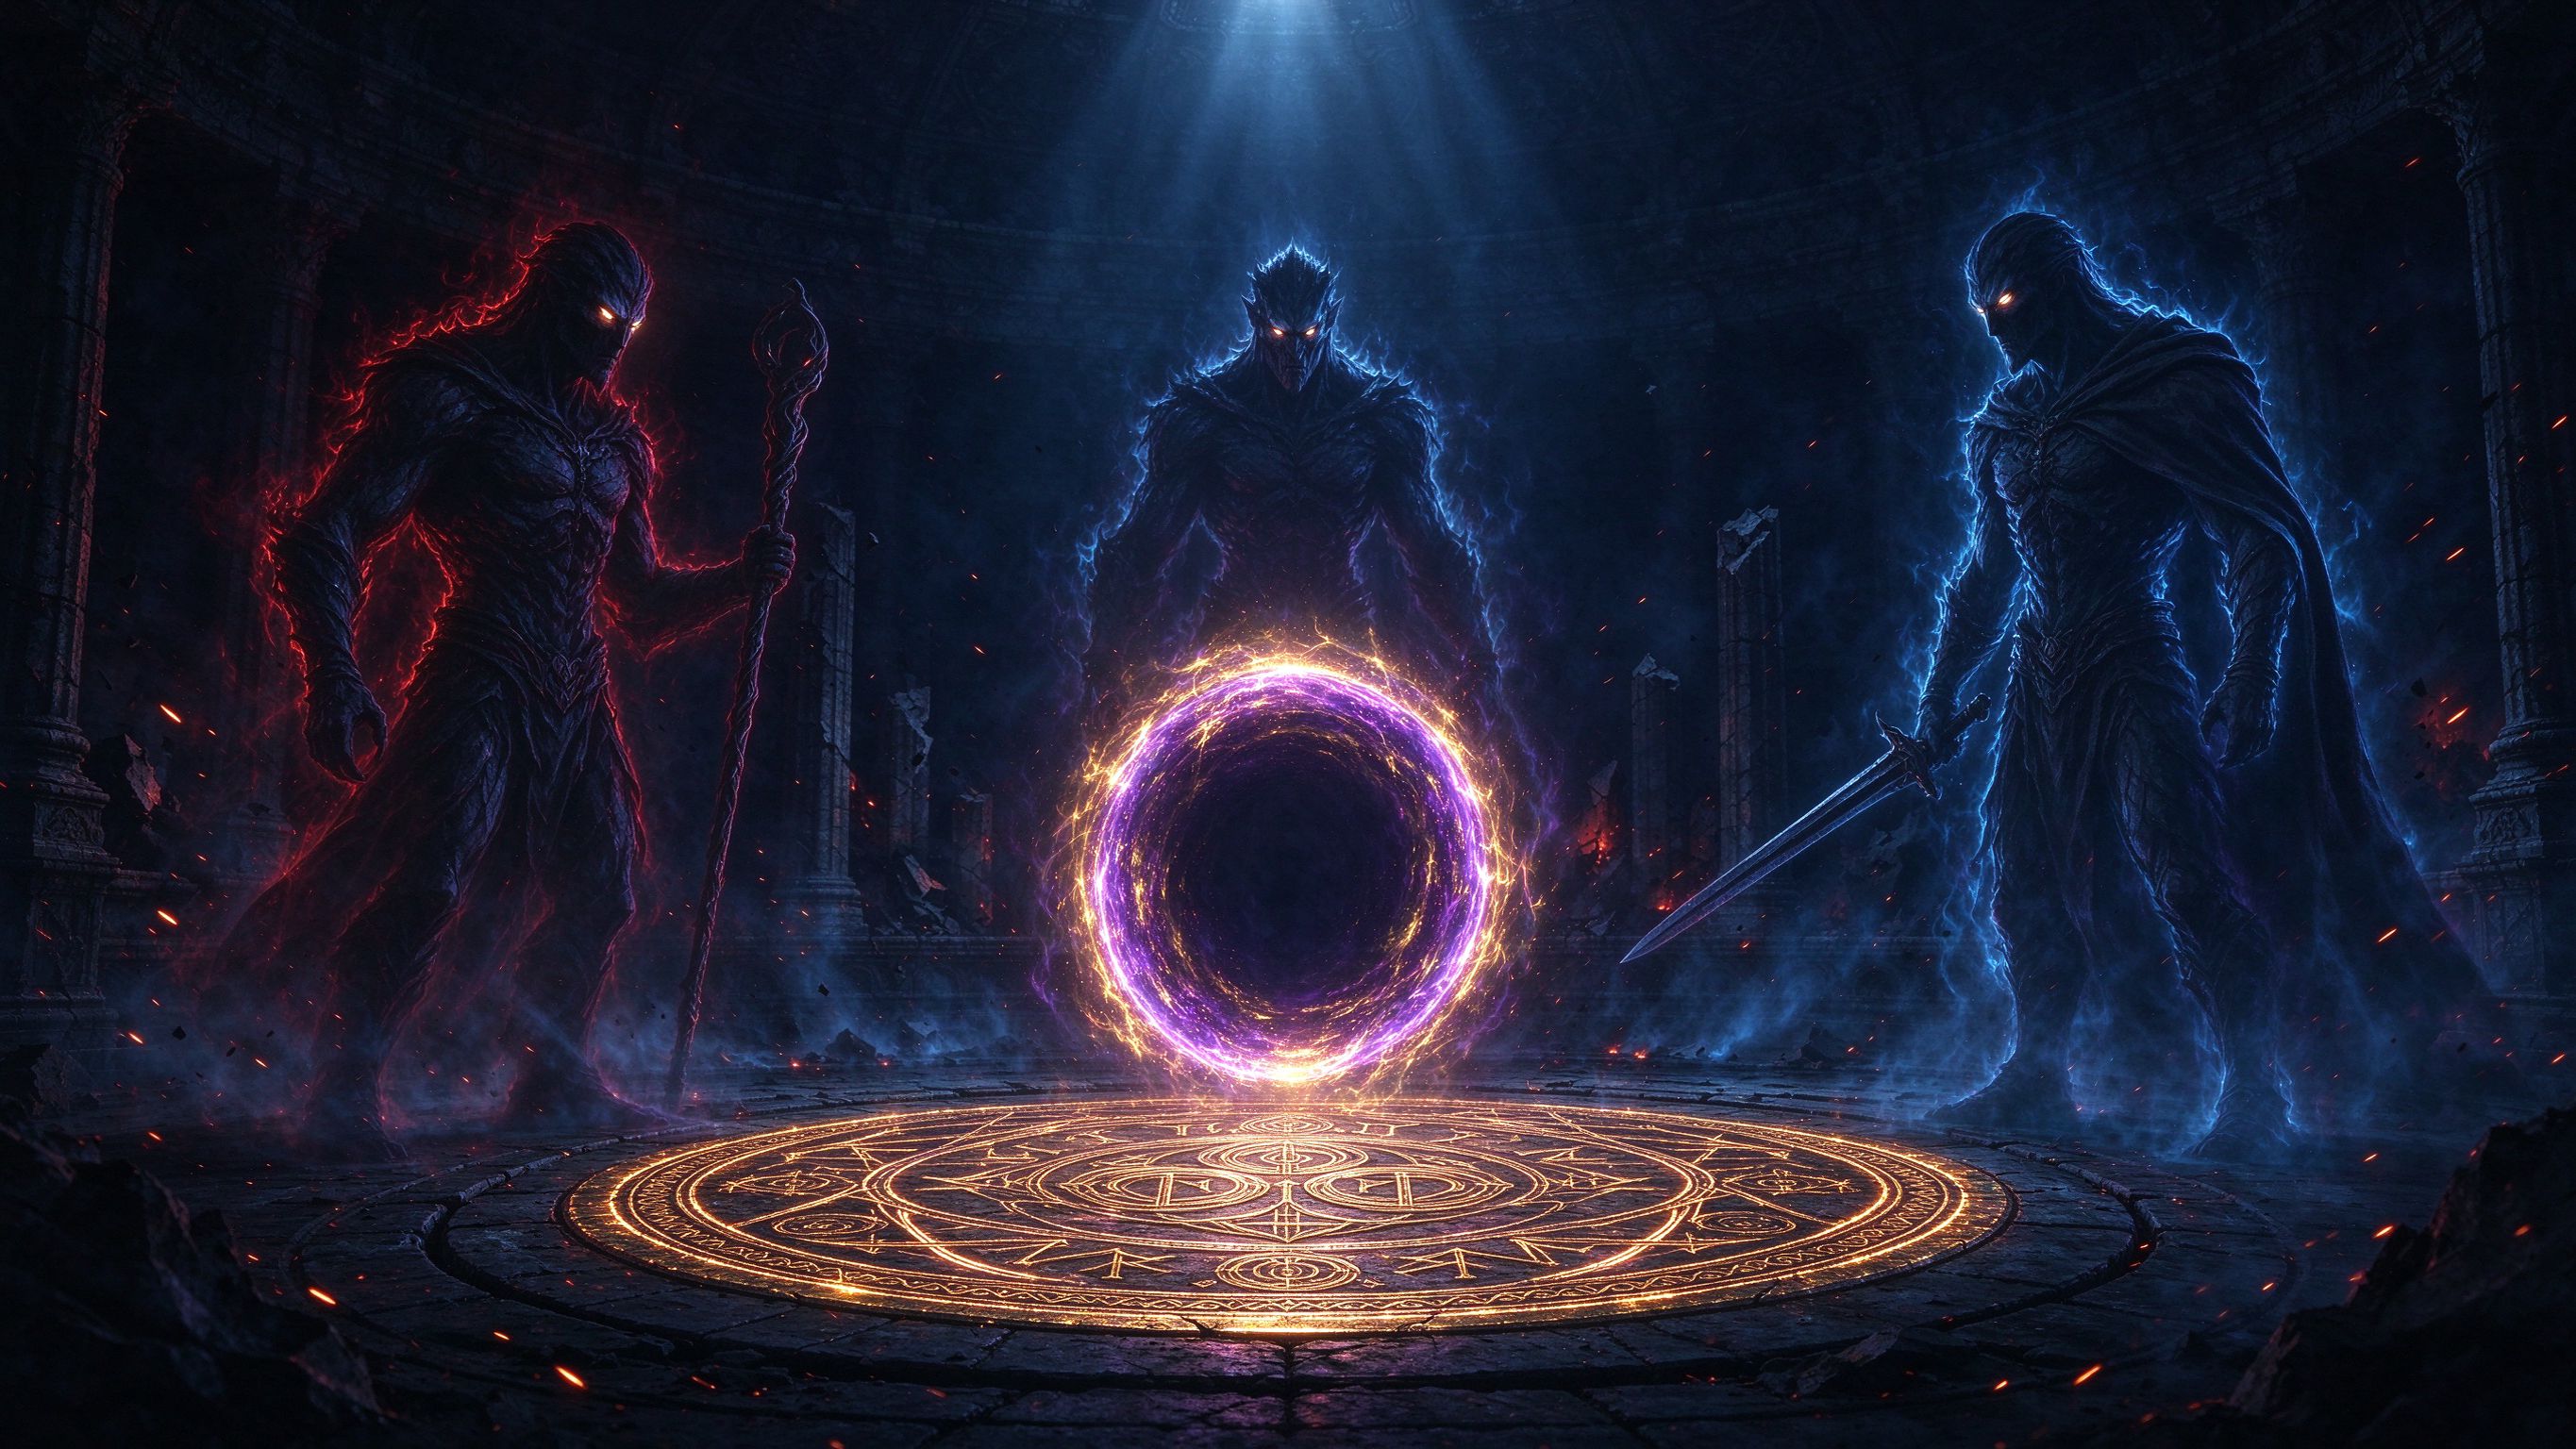
With all three pieces of jewelry equipped — Ring of Misfortune, Ring of the Jinx, and Amulet of Dark Omens — the real fight unlocks.
How to Enter
Go to the Fractured Peaks and find Lorath's old house (his cabin south of Kyovashad). Inside, a portal labeled "Echo of the Damned" will be active. Step through it and you land in the arena.
The Fight
You face the Horadrim Council: three enemies at once — Echo of Neyrelle, Echo of Lorath, and Echo of Donan. These are corrupted reflections of the heroes who carried the franchise's modern story, and they fight as a coordinated trio, not one after another. Bring a group, bring your best Torment-viable build, and expect a real endurance test.
The Reward
Defeating the council drops the Horadric Coin, a Mythic Boss Trophy etched with the Oath of the Horadrim: "Knowledge, lifeblood of light. Magick, open palm of justice. Perseverance, challenger of fate." Using it performs a coin-flip action — flavor, but very cool flavor. Its full purpose is still unknown; this is a mystery the community is only beginning to chase.
What Comes Next: The Coin Flip and Unsolved Questions
Even after the council falls, the mystery is not fully closed. There is a second, even more conditional encounter hiding in the same area: if you are on Torment 12 and wearing all three jewelry pieces, a secret portal becomes active in that same familiar cabin south of Kyovashad.
Then there is the Horadric Coin itself. It is currently a trophy with a coin-flip emote, but the phrase "One flip may seal your fate" and its Oath inscription strongly suggest it is a key — a flag the game is tracking, waiting for the right trigger or the right combination elsewhere in the world.
My Take: Why This Quest Matters
Let me step out of the guide voice for a moment, because this quest deserves a bit of editorializing.
The Lucky Coin Saga is not a normal seasonal quest. It is a three-year community puzzle — an alternate-reality game hiding inside a live-service action RPG. The first coin appeared in the base game in 2023. The second came with a 2024 expansion. The third and final piece only arrived in the 30th-anniversary season, three years later. No patch note ever mentioned it. No loading screen hinted at it. Players had to find the pieces, share them, and assemble the picture themselves — mostly through a dedicated secret-finding community that collaborated across the whole game's lifespan.
That is rare, and it matters. Modern seasonal content is engineered to be discovered by streamers and datamined by databases within days. Blizzard could have shipped this as a normal questline with a map marker. Instead, they chose to bury it, stretch it across years, and trust the community to carry the thread. It is a bet on patience and collective curiosity — the same instincts that once made games feel like places to be explored, not consumed.
There is also a clever thematic layer. These "lucky" coins produce only misfortune: a ring that drains you, a ring that breaks things, an amulet that makes people shun you. It is a miniature tragedy of the Horadrim — an order that once represented light and knowledge, reduced over the centuries to cursed keepsakes. The game is not just handing you a secret; it is telling you the secret's story through its mechanics.
Is it worth the grind? The 24-hour pillow wait and the silent-rat lottery will frustrate you. But if you are the kind of player who likes earning something that most of the server will never see, this is the best of the season — proof that even a live-service giant can still leave a mystery for the curious to unravel.
Summary & Quick Checklist
Three coins, three cursed jewels, one hidden boss. Here is the whole saga as a checklist you can tick off:
- The Lucky Coin — loot a corpse event under a Greed Shrine with 33%+ Lucky Hit (use Ahavarion + Nemesis Bracers, or King's Grace).
- Throw it in the Wishing Well (The Downs, Scosglen) with 5 players on 5 different classes → Ring of Misfortune.
- The Luckier Coin — break a named container with a Blast Wave Shrine in Nahantu, follow the silent rat for 2–4 minutes until it explodes.
- Deliver it to the Moss-covered Grave near Samuk → Ring of the Jinx.
- The Luckiest Coin — 4-player party kills the 4 Elemental Golems in Skartara, Skovos at the same time.
- Deposit it in the Pillow (south Temis), wait exactly 24 hours, loot within the 2-minute window → Amulet of Dark Omens.
- Equip all three, open the "Echo of the Damned" portal in Lorath's cabin (Fractured Peaks), defeat the Horadrim Council.
- Collect your Horadric Coin and keep it — the coin flip may not be the end.
FAQ & Troubleshooting
My Lucky Coin vanished — what happened?
A known bug can make a coin disappear without opening its destination. Double-check your inventory filters first (coins are common rarity). If it is genuinely gone, the step resets and you re-farm the coin. Blizzard's 3.2.1 hotfixes targeted several of these issues, so update your game and try again.
Why didn't the Luckier Coin drop from my container?
The rat spawn is not guaranteed, period. No build or buff forces it. Break containers methodically, keep an eye out for the silent rat, and repeat. Lower Kurast and Restless Canopy in Nahantu are the densest container zones.
I missed the 24-hour pillow window. Now what?
You have to get another Luckiest Coin and wait another full day. This is exactly why you should farm spare coins during the golem step — grab two or three while your party is together.
Can I do the whole saga solo?
Partially. The Lucky Coin step can be done with two players using the class-swap trick. The Luckiest Coin genuinely needs a 4-player party for the simultaneous golem kills. The final boss is doable in a group. Plan your party time in advance.
Are the three jewelry pieces good for my build?
They are strong and very thematic, but they are not BiS for every build. Their real value is unlocking the Horadrim Council and the hidden Torment 12 portal. Equip them for the fight, then judge for yourself whether they earn a permanent slot.


