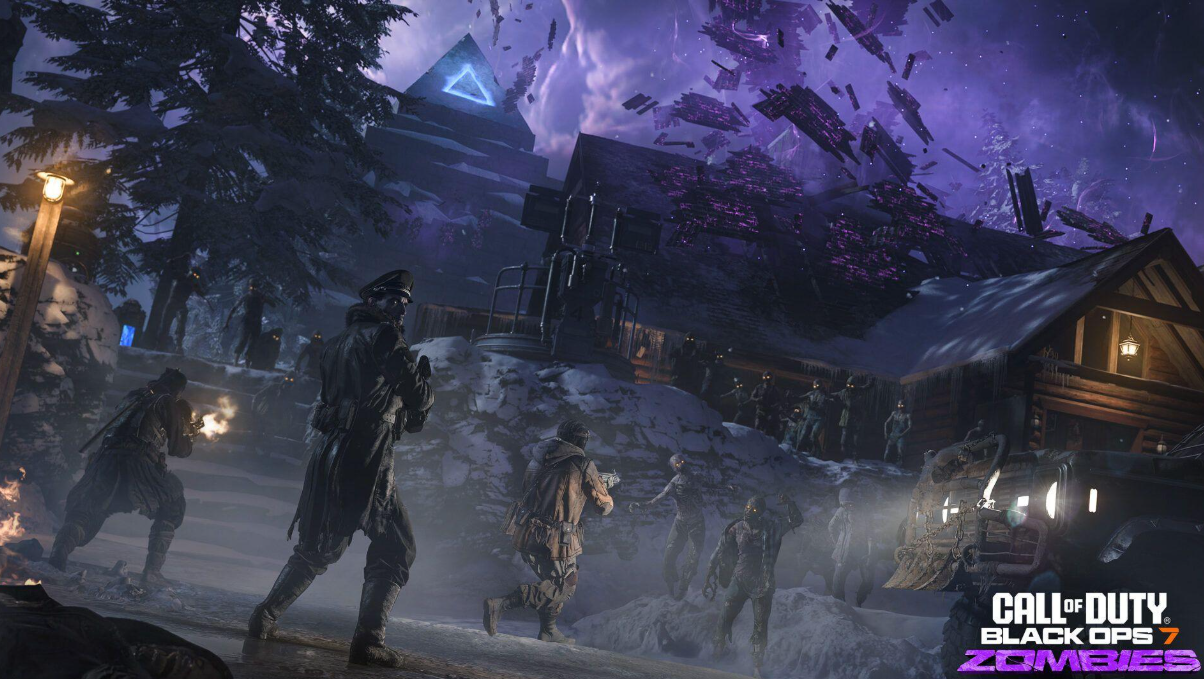


Full Solo Walkthrough for Ghost Town Haunting — Call of Duty: Black Ops 7 Zombies
CoD: Black Ops 7 News

Full Solo Walkthrough for Ghost Town Haunting — Call of Duty: Black Ops 7 Zombies

CoD: Black Ops 7 Jack

Table of Contents

Introduction: Two Distinct Walkthrough Systems for the Same Map

Ghost Town Haunting is a Japanese‑horror‑themed Zombies map released in the mid‑season update of Call of Duty: Black Ops 7 Season 4. There are two complete solo playthrough references for this map. One is a streamlined beginner‑oriented main‑quest guide that allows bubblegum buffs. The other is a full‑content hardcore “sugar‑free” challenge that forbids all bubblegum consumables and covers relic collection plus every side easter egg.

These two resources are not competing alternatives. Instead, they complement one another perfectly. New players can start with the bubblegum‑allowed standard run to learn map layout and puzzle logic. Experienced players can test their skill limits with the sugar‑free restriction. Hunting all hidden collectibles also greatly expands understanding of the map’s ghost‑story lore. This article merges information from both sources and adds independent practical viewpoints to build a complete guide from quick main‑story completion all the way to 100 % secret unlocking.

Pre‑Mission Preparation & Universal Core Loadout Rules

For early‑round crowd control against large zombie hordes, the Shadow SK paired with an underbarrel shotgun works consistently well. For the final boss fight, the M34 Nova is the preferred primary weapon. In my personal view, the M34 Nova delivers much steadier sustained damage than sniper‑style options when playing solo, and it handles surrounding minion zombies without wasting too much ammunition.

Essence and scrap are your core in‑game resources. You should plan collection paths before you even restore map power. Learn fixed Mystery Box spawn points to roll for powerful weapons without overspending currency. Perk sodas follow a stable priority order across both playstyles: health enhancement, faster reloading, self‑revive capability, and improved movement speed are critical for solo survival.

Preparation differs noticeably between standard and sugar‑free runs. In standard play you can keep a small stock of emergency bubblegums for sudden swarms or when you get downed. Most resources can go directly toward weapon upgrades. Under sugar‑free rules you have no bubblegum safety net at all. You must pre‑plan trap camping spots and long‑range zombie‑kiting routes in advance. From my observation, traps are heavily underrated by newer players. Poor trap setup is one of the top reasons why many solo attempts collapse before reaching the boss.

Shared Mandatory Main Quest Linear Process

The core main‑quest puzzle sequence is identical for both standard and sugar‑free play. Completing this chain is the minimum requirement to finish the official story ending.

  • Restore map power to open locked areas, perk vending machines, and puzzle triggers.
  • Find and activate scattered stone lanterns in the correct fixed sequence. Expect continuous zombie waves while working on this puzzle; use pre‑arranged trap positions to avoid being overrun.
  • Hunt elite special zombies to collect five clue paintings. Each painting carries visual evidence for the map’s murder‑mystery storyline. In my opinion, this deduction puzzle is the map’s most creative feature. If you ignore the visual hints, you will waste considerable time back‑tracking across the map searching for missing clues.
  • Analyze evidence from all five paintings, eliminate incorrect suspects, and select the real culprit. This action unlocks entry to the final boss arena.

This linear flow is the full scope of the beginner‑friendly walkthrough. It lets casual players beat the main story relatively quickly without digging into optional hidden content.

Extended Hidden Content Exclusive to Sugar‑Free Guide

The sugar‑free run covers many optional elements not required for main‑quest completion, including Cursed‑Mode relics and multiple side easter eggs. You can complete most of these objectives while progressing through the main quest, rather than finishing the story first and revisiting later.

  • Three Cursed‑Mode relics: Gramophone, Valkyrie Helmet, and Mannequin Turret. Fully gathering these unlocks the special “Path of Sorrow” item plus nine scattered hidden map reward collectibles.
  • Major side easter eggs include the upgradeable Lucky Cat, trigger conditions for the Rhino Robot secret, the Paper Horse puzzle challenge, a hidden parkour tribute easter egg, and random temporary buff pickups such as double points, bonus essence, and short‑term firepower boosts.

My practical suggestion for completion‑oriented players: interleave secret‑item collection with main‑quest travel. The map layout is designed so you can hunt for easter eggs while moving between lantern and painting locations. This reduces large amounts of repetitive running back and forth.

Pre‑Boss Preparation & Differentiated Tactics for Two Game Modes

Certain preparation steps apply regardless of whether you use bubblegums or follow sugar‑free restrictions. Max out upgrades and attachments for your M34 Nova boss weapon. Fill your inventory with self‑revive kits and armor plates. Cycle through normal zombie waves to keep your health high before you trigger the boss fight.

Tactical differences appear when you account for bubblegum availability. During standard runs, hold onto powerful emergency bubblegums. You can deploy them to stun incoming hordes or restore health when multi‑phase boss pressure overwhelms you.

Under sugar‑free rules you have zero bubblegum safety resources. You need to build multi‑layer trap barriers near the boss arena and learn the rhythm of boss attack animations so you can kite safely without instant‑recovery consumables. From reviewing these two guides, I believe most sugar‑free boss failures stem not from insufficient weapon damage, but from poorly stocked armor supplies and failure to separate regular zombies away from the boss using terrain and traps.

Final Boss Battle Comprehensive Combat Strategy

Boss multi‑phase attack mechanics are consistent across both guides. The core solo principle is simple: clear supporting zombie swarms before committing heavy fire to the boss itself. Watch for short windows where boss weak‑points become exposed and deliver concentrated damage during those moments. If you fixate purely on attacking the boss, surrounding minions will quickly cut off your movement space and cause a wipe.

For standard bubblegum‑enabled runs the fight is noticeably easier. When cornered between boss strikes and zombie hordes, activate crowd‑control bubblegums to create room to reposition. For sugar‑free play you can only rely on map corners and pre‑placed traps to split the boss from its minions. Every dodge and reload must be well‑timed to avoid taking unnecessary damage.

In‑Depth Comparative Analysis of Standard Run VS Sugar‑Free Run

After combining both reference walkthroughs, it is easy to define which player each playstyle suits best.

  • Standard bubblegum‑allowed run: Built for casual players and Zombies newcomers. Bubblegum buffs lower survival pressure. The streamlined main‑quest path lets you experience the core story quickly while you memorize map geometry and puzzle rules without repeated frustrating deaths.
  • Sugar‑free no‑gum run: Made for veteran players seeking skill challenges and full‑map completion. Removing bubblegums raises the skill ceiling significantly. This mode exposes every relic and easter egg the map has to offer.

I recommend a clear play order for all users: first complete the main quest with bubblegums turned on to learn the map thoroughly. Afterwards start a sugar‑free run to chase relics and side secrets. This progression reduces early‑run frustration while gradually unlocking the map’s full depth.

Post‑Game Summary & Personal General Suggestions

Drawing lessons from both guides, three recurring mistakes cause most solo failures: failing to accumulate enough essence and scrap early on, activating stone lanterns out of correct sequence, and triggering the boss fight before your main weapon is fully upgraded. All three issues can be avoided by following structured preparation and puzzle workflows.

Each of the original reference guides fills a distinct role. The beginner‑focused tutorial serves as a fast‑pass shortcut for players who only want the main‑story ending. The sugar‑free material acts as a full‑completion encyclopedia covering secrets and high‑difficulty combat tactics.

From my overall assessment, Ghost Town Haunting stands out as one of the most thoughtfully‑designed Zombies maps within Black Ops 7 Season 4. Its layered puzzle design and dual‑difficulty concept accommodate casual audiences and hardcore enthusiasts equally. Trying both standard and sugar‑free solo playthroughs is the best way to appreciate its complete combat depth and rich ghost‑story background.

Call of Duty Black Ops 7 Zombies Guide — Integrated Solo Walkthrough
Prev: Black Ops 7 Machine of War Event Guide: How to Farm Fuel Cans Fast
Recommended Article
Black Ops 7 Lost Outpost Event Got Rescheduled — Here’s What Actually Changed
payment icon
Copyright© Buymmog.com all rights reserved.   This website is owned and operated by JINKING KAK LIMITED.
facebook twitter tiktok twitch instagram