





 History Search
 Recommended For You
 Languge & Currency


AION 2 GLOBAL · NORMAL RAID PROGRESSION
Reaching the Ludra item-level requirement gets you through the entrance. Your first clear depends on what happens next: keeping both parties alive, passing a dangerous debuff during movement, and reacting correctly when the final boss changes the arena.
This Aion 2 Ludra guide focuses on preparing for Normal mode, recognizing the important mechanics, and working out why a pull failed. It also explains the difference between Normal and Hard progression, what rewards to plan around, and where to spend your upgrade budget.
1. Ludra Requirements: Normal vs Hard
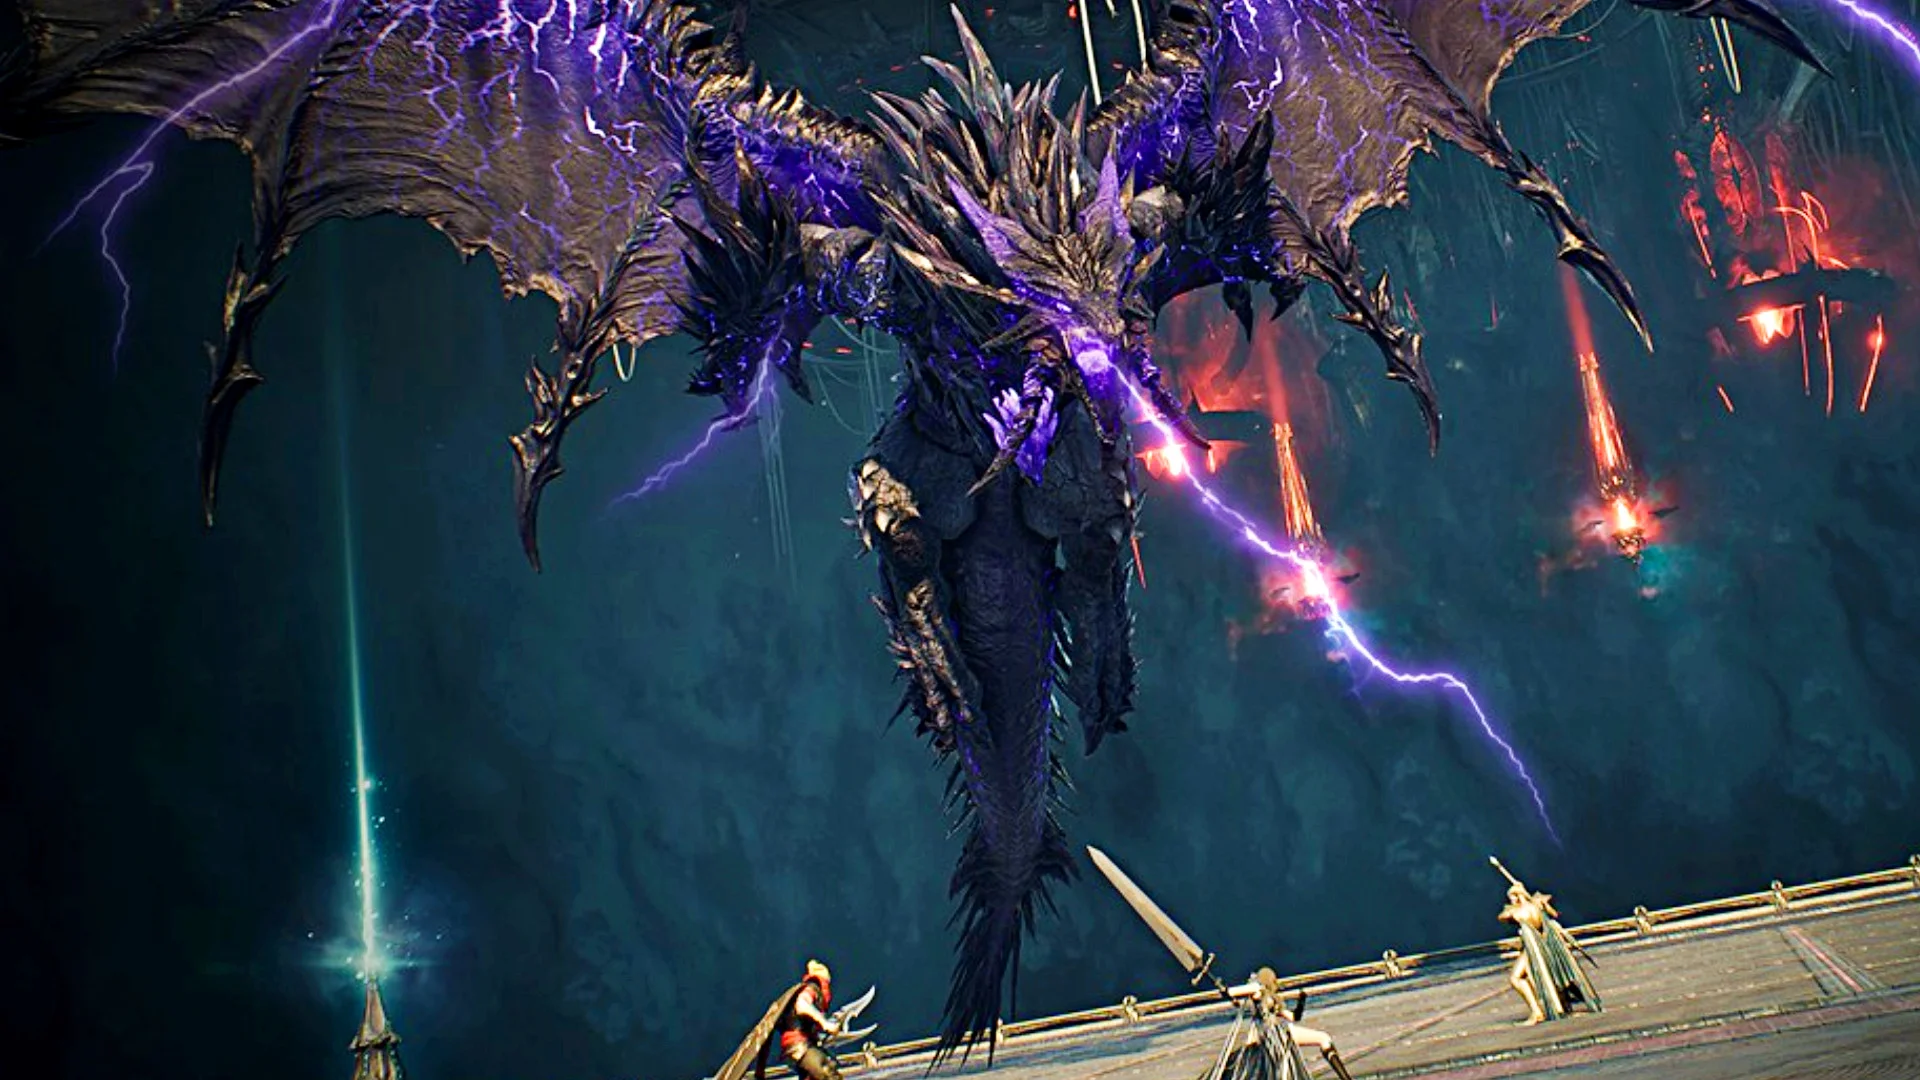
Abyssal Forge: Ludra returned to Aion 2 Global on November 4, 2026. It is a 10-player Sanctuary raid, organized into two parties of five. The difficulty you select determines the minimum item level.
| Requirement | Normal | Hard |
|---|---|---|
| Minimum item level | 2,800 | 3,000 |
| Raid size | 10 players | 10 players |
| Published run time limit | 1 hour | 1 hour |
| Recommended starting point | Learn the raid and build consistent clears. | Bring stronger progression and dependable execution. |
The final row is a progression recommendation, not an additional entry rule. For a first learning group, start with Normal. A party that repeatedly loses players to mechanics gains more from cleaner execution than from changing the difficulty.
Item level and Combat Power are different measurements. The entrance requirement is not a published minimum CP requirement, and neither number guarantees a clear. Do not mistake a recruitment preference for a game rule.
2. Organize Your Raid Before Entering
Build two functioning parties before choosing positions. Each side needs a clear plan for healing, holding the boss, and handling movement. For a learning run, putting a capable healer in each party is a practical starting point; leave unusual compositions to groups that already understand the encounters.
Name one leader for each side and one caller for the final boss. A single instruction such as “stack on the star” is easier to follow than several players giving different directions.
Agree on Directions and Assignments
Choose what “left,” “right,” and clock positions mean. They should refer to a consistent arena view or marker, rather than whichever way an individual player's camera happens to face.
Before pulling, identify the players responsible for auxiliary objectives, the gathering marker, and the final boss's orb assignments. Give important jobs a backup. Someone dying or being displaced should trigger a known replacement, not a debate during the cast.
Make Important Information Visible
Keep the boss cast bar, your debuffs, party health and raid markers easy to see. Move interface elements if they cover the floor near your character. Test your dodge, movement and defensive bindings before a pull, especially if you normally play a damage-focused setup.
After a reset or roster change, check both party lists again. Familiar names in the raid do not necessarily mean everyone is still assigned to the same side.
3. Clear the Reactor, Rahu and Ketu
The forge includes a reactor objective and two wing bosses before the raid reunites for Eternal Ludra. Treat this section as preparation for the final encounter: sloppy movement and unclear assignments here often expose problems you will face again later.
Central Abyss Fusion Reactor: Switch to the Objective
When an auxiliary reactor appears, the assigned players should reach it and destroy it. Leaving auxiliaries active makes the central objective harder to damage. Deal with the adds as well; keeping everyone on the largest target can waste time while the group takes unnecessary damage.
Assign the objective team before starting. If damage appears to fall sharply, look for an unfinished objective before spending more offensive cooldowns on the central reactor.
Isolation Specialist Rahu: Keep the Bomb Moving
Rahu combines formation changes with a bomb transfer. Keep the carrier close to a teammate when the timer expires; a missed pass or carrier death creates a failure puddle. Three failures wipe the group. Avoid crossing an existing failure puddle while carrying the bomb.
For the eye-marked line attack, aim away from the party's safe gap, then move into safety after the line commits. For the overlapping donut attacks, stack tightly on the agreed marker. During Wheel of Torment, regroup on the player with the stack marker and move together around Rahu.
Place personal puddles near the edge, preserving room to move. During Feeding Time, the eye-marked player aims the line through a monster. Surviving monsters count toward the same failure limit as missed bomb transfers, and the bomb still needs a receiver throughout the mechanic.
Useful callout: announce the carrier and remaining timer before a movement sequence. “Bomb needs a partner” tells the group what to fix immediately.
Abyssal Wings Ketu: Read Facing and Protection Cues
Two established Ketu patterns are useful to recognize while learning the current fight. For the red-and-blue gaze orbs, face the red orb and turn your character away from the blue one. Turning only your camera does not change your character's facing.
During the soul-stone protection sequence, breaking a stone provides temporary invulnerability. Keep the incoming cone attacks away from stones the party needs, and coordinate when players use them. Consuming protection too early can leave you exposed when the damaging sequence resolves.
These reminders do not establish a current HP trigger or a fixed stone route. Agree on the protection plan for your attempt, including the healer's access, rather than copying an older video's exact timing. Keep damage secondary when a required survival action is approaching.
4. Recognize Eternal Ludra's Key Mechanics
The final boss asks the full raid to share space without creating overlapping hazards. Learn what each visual cue requires before trying to memorize a damage rotation through it. The checklist below describes established mechanic families; confirm the details against the reworked Global fight.
| Cue | Response to prepare |
|---|---|
| Falling red and blue orbs | Assign collectors. The red-orb job requires the appropriate defensive protection; the other players cover the blue orbs. |
| Expanding ground rings | Watch the ring and time your jump as it reaches you. |
| Grid or “bingo” floor | Spread tile coverage to reveal the safe cell, call it clearly, then gather there before the lethal cast resolves. |
| Red and blue player effects | Use agreed sides to separate opposite colors. For the later colored-circle protection pattern, match your effect to the correct circle. |
Give Orb Jobs to Named Players
For the falling-orb pattern, name a red-orb collector and a backup with suitable protection. Assign the remaining coverage so that several players do not chase the same orb while another is missed. Check that the required defensive skill is available before the mechanic arrives.
Keep Ketu's gaze-orb rule separate from Ludra's collection mechanic. “Red means face it” is not an instruction for collecting Ludra's falling red orb.
Make the Grid Easy to Call
Before the pull, agree on a naming system for the board. When tile coverage is needed, players should cover assigned areas instead of following each other. Once the safe cell is identified, use its agreed location and a marker where possible.
The player's task changes during this sequence: first help locate safety, then reach it. Continuing a damage cast after the safe location is called turns useful information into a preventable death.
Keep the Boss and Arena in View
Following a color assignment does not excuse running through another attack. Leave space to see the next ground cue, and choose a route before using a movement skill. If the playable area changes, reassess your position before using an ability that moves you around the target.
Save coordinated burst for a damage window the raid can actually use. A stagger window is valuable because more players can attack together; individual cooldowns used just before a forced movement sequence may contribute much less.
5. Prepare Your Damage and Survivability
Use Combat Power as Context
There is no single CP number in this guide that certifies a Normal clear. Early successful groups and struggling groups report different experiences, and a roster's average conceals differences in healing, damage, class setup and execution.
A reported Normal clear at around 200,000 average CP is evidence that one group succeeded with its setup. It is not a minimum requirement for every player or a promise that another group at the same number will succeed.
Check Why Damage Is Missing
If the raid survives but cannot finish, examine how much time players spend attacking. Long periods of unnecessary movement, deaths, missed burst windows and unsuitable equipment can all reduce the damage reaching the boss.
Review hit results as well. If attacks are being parried or failing to contribute, investigate the relevant stats for your class and the current Global boss. Avoid importing an Accuracy target from a different regional build.
Use Defense to Address a Specific Failure
Damage reduction and defensive skills can help with some survivable hits, but players report mixed results when trying to build through Ludra's dangerous attacks. They do not replace the correct response to a lethal mechanic.
Start with the death that repeats. If a defensive skill lets you survive an otherwise recoverable mistake while learning, test it. If you consistently die outside the safe area, fix positioning first. Preserve enough damage to meet the fight's demands rather than replacing your entire build without a reason.
6. Fix the Cause of Each Wipe
After a failed pull, identify the earliest avoidable problem. A later lack of damage may have started with two players dying several minutes earlier. Changing equipment will not resolve an assignment nobody understood.
| What happened | Check first | Change for the next pull |
|---|---|---|
| A player dies before a major mechanic. | Position, health and the attack immediately before death. | Move earlier or reserve a defensive for that attack. |
| The bomb has no receiver. | Whether movement split the carrier from the group. | Name a partner and call the timer before separating. |
| Players disagree about safe positions. | Camera-relative directions and missing markers. | Use one coordinate system and one caller. |
| A required job is missed. | Whether its assigned player was dead or occupied. | Give the job a backup and an explicit takeover call. |
| The raid survives but finishes too slowly. | Attack uptime, hit results and shared burst timing. | Improve the largest measured damage loss. |
| Deaths increase late in the session. | Fatigue and repeated rushed resets. | Take a break, then confirm the plan before pulling. |
Keep the review short and factual: “The carrier was isolated after the knockback; the backup will move with them.” Change one or two things per pull so the group can tell whether the adjustment worked.
Experienced groups can also compare repeated attempts at the same phase. If more players survive and the boss reaches the next mechanic sooner, execution is improving even before the first clear.
7. Understand Ludra Rewards and Vouchers
Normal and Hard offer the same types of item rewards, with different drop rates. Normal therefore remains a progression option while your raid prepares for Hard. Choose a difficulty you can complete consistently rather than budgeting around an uncertain Hard clear.
| Reward | Planning note |
|---|---|
| Ludra weapons and Guard | Equipment rewards; do not assume your desired piece drops on the first clear. |
| Ludra's Bracelet | A voucher-based Substance Morph route is available. |
| Abyssal Bracelet | A chance reward in either difficulty. |
| Wings and artwork | Check the current reward list alongside equipment goals. |
The bracelet recipe uses 6 Normal Ludra vouchers or 3 Hard Ludra vouchers. Two Normal vouchers can be converted into one Hard voucher. Review the full Substance Morph recipe, including any additional cost, before spending them; the voucher count alone is not the complete price.
Check the raid's reward-selection screen and remaining clear allowance before planning another rewarded run. A repeat practice attempt and another loot claim should not be treated as the same thing.
Ludra Hunt Titles
The November Ludra Hunt also rewards clears during its event window. The ranked Hard titles are The First to Slay Ludra, Ludra's Conqueror and Ludra's Vanquisher; other qualifying Normal or Hard clears earn Ludra's Nemesis.
The event ends before maintenance on November 24 in PST, or November 25 in CET. Those are the regionally listed dates for the same maintenance window. Check that your clear falls within it if the title is part of your goal.
8. Set Your Budget and First-Clear Plan
Spend toward the problem your raid is actually facing. A useful upgrade might improve damage, provide a needed stat, or help you survive a recoverable hit. Buying several expensive pieces before identifying the problem makes it harder to judge which purchase helped.
Keep enough currency for supplies and the next useful upgrade. Before a crafting or market purchase, check which currency type the interface accepts. Our Aion 2 currency guide explains Kina, Bound Kina and other progression resources.
If you are comparing a currency purchase for your upgrade budget, you can review BuyMMOG's AION 2 Kinah listings. Confirm the supported Global region, server, current price and order requirements before choosing an amount. Extra currency cannot complete a raid mechanic for you.
A Practical First Session
- Check the roster. Confirm two balanced parties, leaders and the role each player will perform.
- Confirm mechanic assignments. Choose the gathering marker, bomb partners, orb collectors and backups.
- Prepare your character. Check equipment, supplies, skill bindings and the defensive tools needed for your job.
- Learn one obstacle at a time. Make the reactor and wing sections repeatable before expecting a full final-boss pull.
- Review the first failure. Fix the earliest avoidable mistake, then test that adjustment.
- Plan the next session. Record the unresolved mechanic and any upgrade supported by what you observed.
Before leaving, have each player state their next assignment: where they will stand, which cue they will watch, and what they will do if the primary player is unavailable. That gives the next attempt a clear starting point.


